1. Change VM Network Adapter to NAT or Bridged:
- Open VMware Workstation.
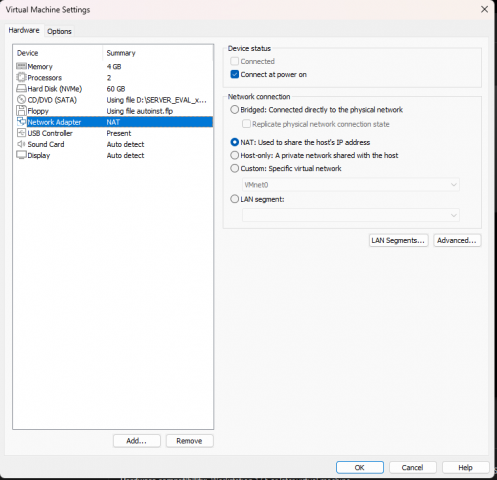
- Right-click on your virtual machine Settings.
- Go to Network Adapter.
- Select either NAT or Bridged connection.
- NAT is good if you want internet access behind a firewall with a private IP.
- Bridged allows the VM to be on the same network as your host.
- Choose NAT for a safer option. In bridged mode, the virtual machine can only obtain an IP address within the same network as your router.
2. Configure Virtual Network Editor:
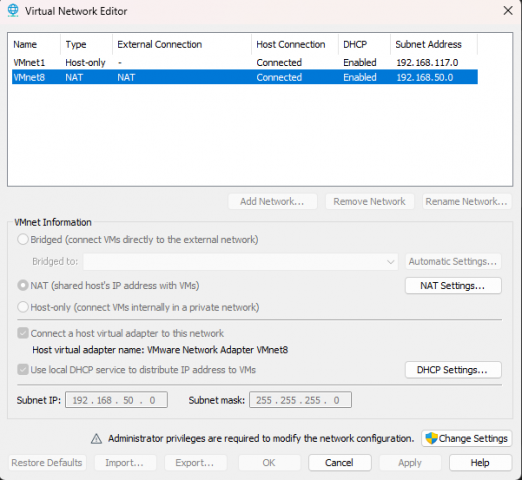
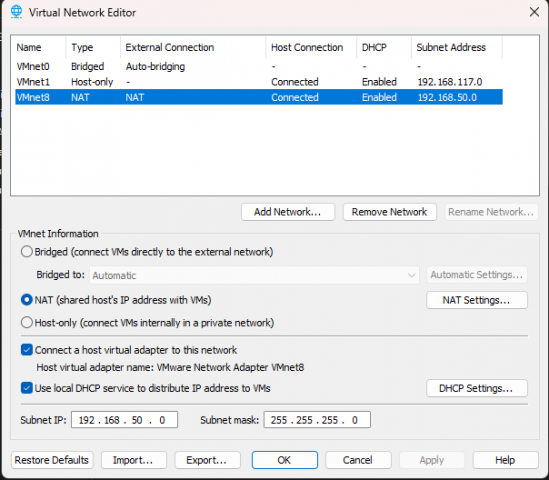
- Go to Edit Virtual Network Editor.
- Click Change Settings (you need admin rights).
- Select VMnet8 (for NAT) or VMnet0 (for Bridged, though Bridged uses your physical adapter and usually doesn’t have its own subnet configuration).
- If using NAT (VMnet8):
- Change the subnet IP to your desired private network, e.g.,
192.168.50.0. - Subnet Mask:
255.255.255.0.
- Change the subnet IP to your desired private network, e.g.,
3. Set NAT Gateway IP (only for NAT):
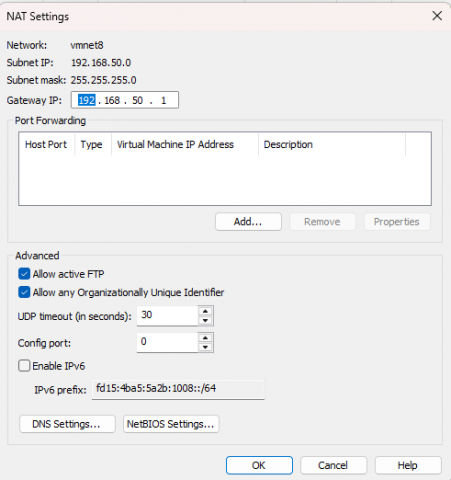
- Still in Virtual Network Editor, with VMnet8 selected, click NAT Settings.
- Set the Gateway IP to a value in your subnet (e.g.,
192.168.50.1). - This is the IP your VM will use as a default gateway.
4. Use Public DNS Temporarily:
- Before you configure your own DNS Server, use a public DNS like:
8.8.8.8(Google DNS)
5. Now You’re Ready to Set Up:
DNS Server (after which you can stop using public DNS).
Active Directory Domain Services (AD DS).
DHCP Server


Post a comment